


Regenerative Cannabis Growing: Re-Vegging After Harvest
Master the art of re-vegging your cannabis plants to harvest multiple times from a single root system — saving time, money, and preserving your best genetics.
- What it is: Regenerative growing (re-vegging) is the practice of returning a harvested cannabis plant back to the vegetative growth stage to produce a second or third harvest from the same root system.
- Why it matters: Re-vegging can save significant time and money by eliminating the need to start new seeds or clones for every grow cycle while preserving proven genetics.
- Tools needed: Full-spectrum grow lights, 18/6 light timer, nitrogen-rich vegetative nutrients, pH meter, pruning shears, and a healthy root system.
- Best time: Begin re-vegging immediately after harvest while the root system is still active and some green plant material remains on the stalk.
- Works with: Photoperiod strains only — autoflowering varieties cannot be re-vegged due to their age-based flowering trigger.
- Cannabis laws vary by state — always verify your local regulations before cultivating cannabis at home.
Introduction to Cannabis Regenerative Growing
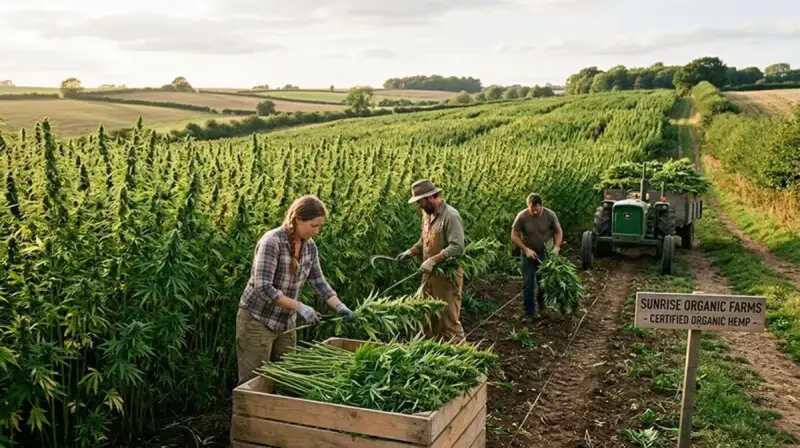
Regenerative cannabis growing — commonly called "re-vegging" or "monster cropping" — is one of the most cost-effective and resource-efficient cultivation strategies available to home and commercial growers. At its core, re-vegging is the process of taking a cannabis plant that has just completed its flowering cycle and coaxing it back into the vegetative growth stage, where it will eventually be ready to flower again for a second full harvest.
The concept draws from broader regenerative agriculture principles: rather than treating each plant as a one-time-use resource, regenerative growers view the established root system as a long-term asset. A mature root ball that has been growing for several months is far more efficient at uptaking water and nutrients than a newly transplanted seedling or clone, meaning re-vegged plants often grow faster and more vigorously during their second vegetative phase than first-generation plants do.
For home growers in legal states, re-vegging offers a compelling solution to plant count restrictions. Many states cap personal cultivation at 3 to 6 plants — by re-vegging your best performers instead of starting fresh each time, you maximize the productive potential of every plant in your legal allowance. For small-scale commercial cultivators, re-vegging reduces the cost and labor associated with maintaining dedicated mother plants and running constant clone operations.
Beyond economics, regenerative growing is a way to preserve and lock in genetics. If you've grown a particularly exceptional phenotype — outstanding flavor, potency, or terpene profile — re-vegging ensures you can continue harvesting from that exact genetic expression without relying on clones that may carry stress or disease. Many experienced cultivators combine re-vegging with cloning practices to create a self-sustaining genetic library.
Understanding re-vegging also deepens your overall knowledge of cannabis plant biology, specifically the role of photoperiod lighting in triggering and reversing the flowering cycle. This knowledge directly informs better decisions across all aspects of cannabis cultivation, from light schedule management to nutrient programming and plant training techniques.
"Re-vegging is the closest thing to a cheat code in cannabis cultivation — you're essentially getting a second run at your best plant with a root system that already knows what it's doing."
Step-by-Step Guide to Re-Vegging Cannabis
Successfully re-vegging a cannabis plant requires careful execution at each stage. Rushing any phase — particularly the initial harvest preparation or lighting transition — significantly reduces your chances of a healthy recovery. Follow these steps methodically for the best results.
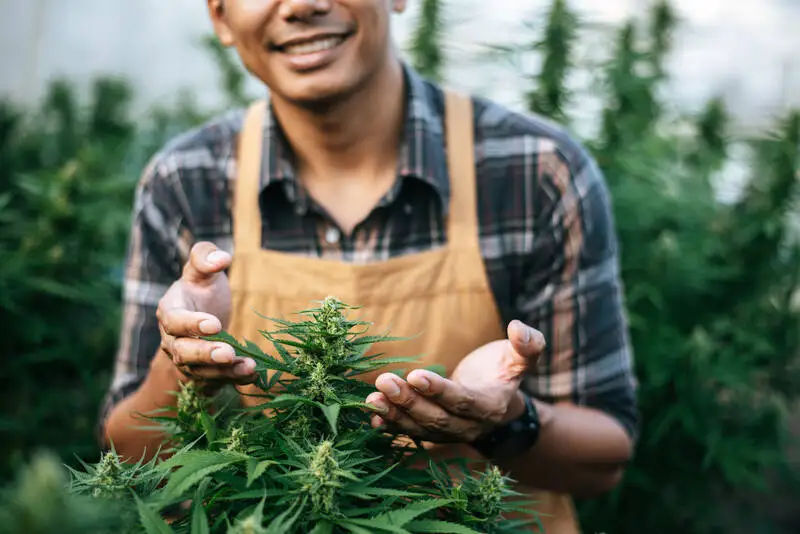
- Select your re-veg candidate carefully. Choose a healthy, vigorous plant with no signs of root rot, severe nutrient deficiencies, or pest damage. Indica-dominant and hybrid photoperiod strains typically re-veg most reliably. Avoid re-vegging any plant that showed hermaphrodite tendencies during the first flower cycle.
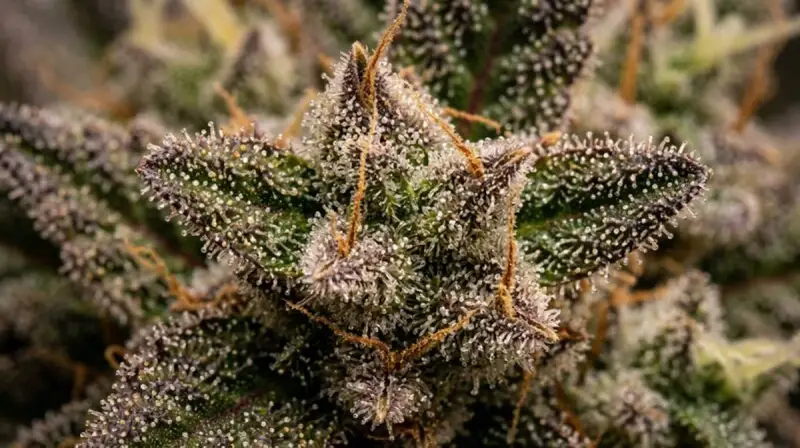
- Harvest strategically — leave green material behind. When harvesting, do not strip the plant completely. Leave the lower third of the plant intact, including any small popcorn buds, bud sites, and especially fan leaves. These remaining leaves are the plant's photosynthetic engine during recovery. The more chlorophyll-containing tissue you leave, the faster regeneration will occur.
- Immediately switch your light schedule to 18/6. As soon as harvest is complete, change your light cycle to 18 hours of light and 6 hours of darkness. This extended photoperiod signals to the plant that it's returning to the vegetative growth stage. Some growers use a 20/4 schedule for the first two weeks to accelerate recovery.
- Flush the root zone thoroughly. Run several gallons of pH-adjusted water (6.0–7.0 for soil, 5.5–6.5 for hydro) through the medium to clear residual bloom nutrients. Flowering nutrients are high in phosphorus and potassium, which will inhibit vegetative regrowth. A clean slate allows you to introduce the nitrogen-heavy vegetative formula the plant now needs.
- Introduce vegetative nutrients at reduced strength. Start feeding at 25–50% of your normal vegetative nutrient strength during the first two weeks. The stressed plant needs nitrogen to rebuild leaf mass but cannot process heavy feeding immediately post-harvest. Gradually increase to full vegetative feeding strength as new growth emerges.
- Maintain optimal environmental conditions. Keep temperatures between 70–80°F (21–27°C) and relative humidity at 50–60% during the recovery phase. Slightly elevated humidity reduces transpiration stress on a plant that has fewer leaves than normal. Good airflow remains important to prevent mold and mildew on any remaining bud material.
- Watch for re-vegging signs and prune dead material. Within 1–2 weeks you should begin to see unusual, single-fingered "re-veg leaves" emerging from bud sites and internodes — this is a reliable confirmation that regeneration is underway. Remove any remaining dried or dead bud material with clean, sterilized pruning shears to prevent botrytis (bud rot).
- Allow full vegetative recovery before triggering flower again. Wait until the plant has rebuilt a robust canopy — typically 4–8 weeks — before switching back to a 12/12 light schedule to trigger the second flower cycle. Rushing back into flower before the plant has recovered results in significantly reduced yields and quality.
- Take clones during the re-veg phase. This is an excellent time to take cuttings for cloning. Re-vegged cuttings (sometimes called "monster clones") often root faster and display more branching than first-generation clones, creating bushier, more productive plants.
| Growth Phase | Light Schedule | Nutrient Focus | Duration | Key Indicator |
|---|---|---|---|---|
| Immediate Post-Harvest | 18/6 or 20/4 | Flush / Water Only | Days 1–3 | Root zone flushed, lights switched |
| Early Recovery | 18/6 | Light Veg Nutes (25–50%) | Weeks 1–2 | Single-fingered re-veg leaves appear |
| Active Re-Veg | 18/6 | Full Veg Nutes (100%) | Weeks 2–5 | Multi-finger leaves, vigorous shoot growth |
| Canopy Rebuild | 18/6 | Full Veg + Cal-Mag | Weeks 4–8 | Dense branching, pre-flower size achieved |
| Flower Trigger | Switch to 12/12 | Transition to Bloom | Week 6–8+ | Plant at desired size and structure |
Equipment & Supplies for Regenerative Growing
While re-vegging doesn't require specialized equipment beyond a standard grow setup, having the right tools ensures a smooth recovery and maximizes your second harvest potential. Here's a comprehensive breakdown of what you'll need and what it will cost.
| Item | Purpose | Estimated Cost | Where to Buy |
|---|---|---|---|
| Full-Spectrum LED Grow Light | Provides optimal light for vegetative re-growth (blue spectrum emphasis) | $80–$400+ | Hydroponic stores, Amazon, AC Infinity |
| Digital Light Timer | Maintains precise 18/6 light schedule for photoperiod control | $15–$40 | Hardware stores, hydroponic retailers |
| Nitrogen-Rich Veg Nutrients | Rebuilds leaf mass and drives vegetative growth during recovery | $20–$60 | General Hydroponics, Fox Farm, Nectar for the Gods |
| pH Meter & pH Adjustment Solutions | Ensures nutrient uptake is not locked out by incorrect pH | $20–$80 | Hydroponic stores, Amazon |
| TDS/EC Meter | Measures nutrient concentration to avoid over-feeding stressed plants | $15–$50 | Hydroponic stores, Amazon |
| Sterile Pruning Shears | Removes dead bud material post-harvest without introducing infection | $15–$40 | Garden centers, hydroponic stores |
| Cal-Mag Supplement | Prevents calcium and magnesium deficiency common during re-veg stress | $15–$30 | Botanicare, General Hydroponics, Athena |
| Hygrometer/Thermometer | Monitors temperature and humidity during sensitive recovery phase | $10–$35 | Hardware stores, Amazon |
| Isopropyl Alcohol (70%+) | Sterilizes cutting tools to prevent disease transmission | $3–$8 | Pharmacies, grocery stores |
| Grow Tent (if indoor) | Controls environment and light-proofs the re-veg space | $50–$200 |
Best Strains for This Growing Method
These strains are well-suited for this technique based on their growth characteristics:
- Jack Herer â Good re-veg candidate with strong genetics
- Blue Dream â Regenerates well with adequate recovery time
- Northern Lights â Stable genetics for regenerative grows